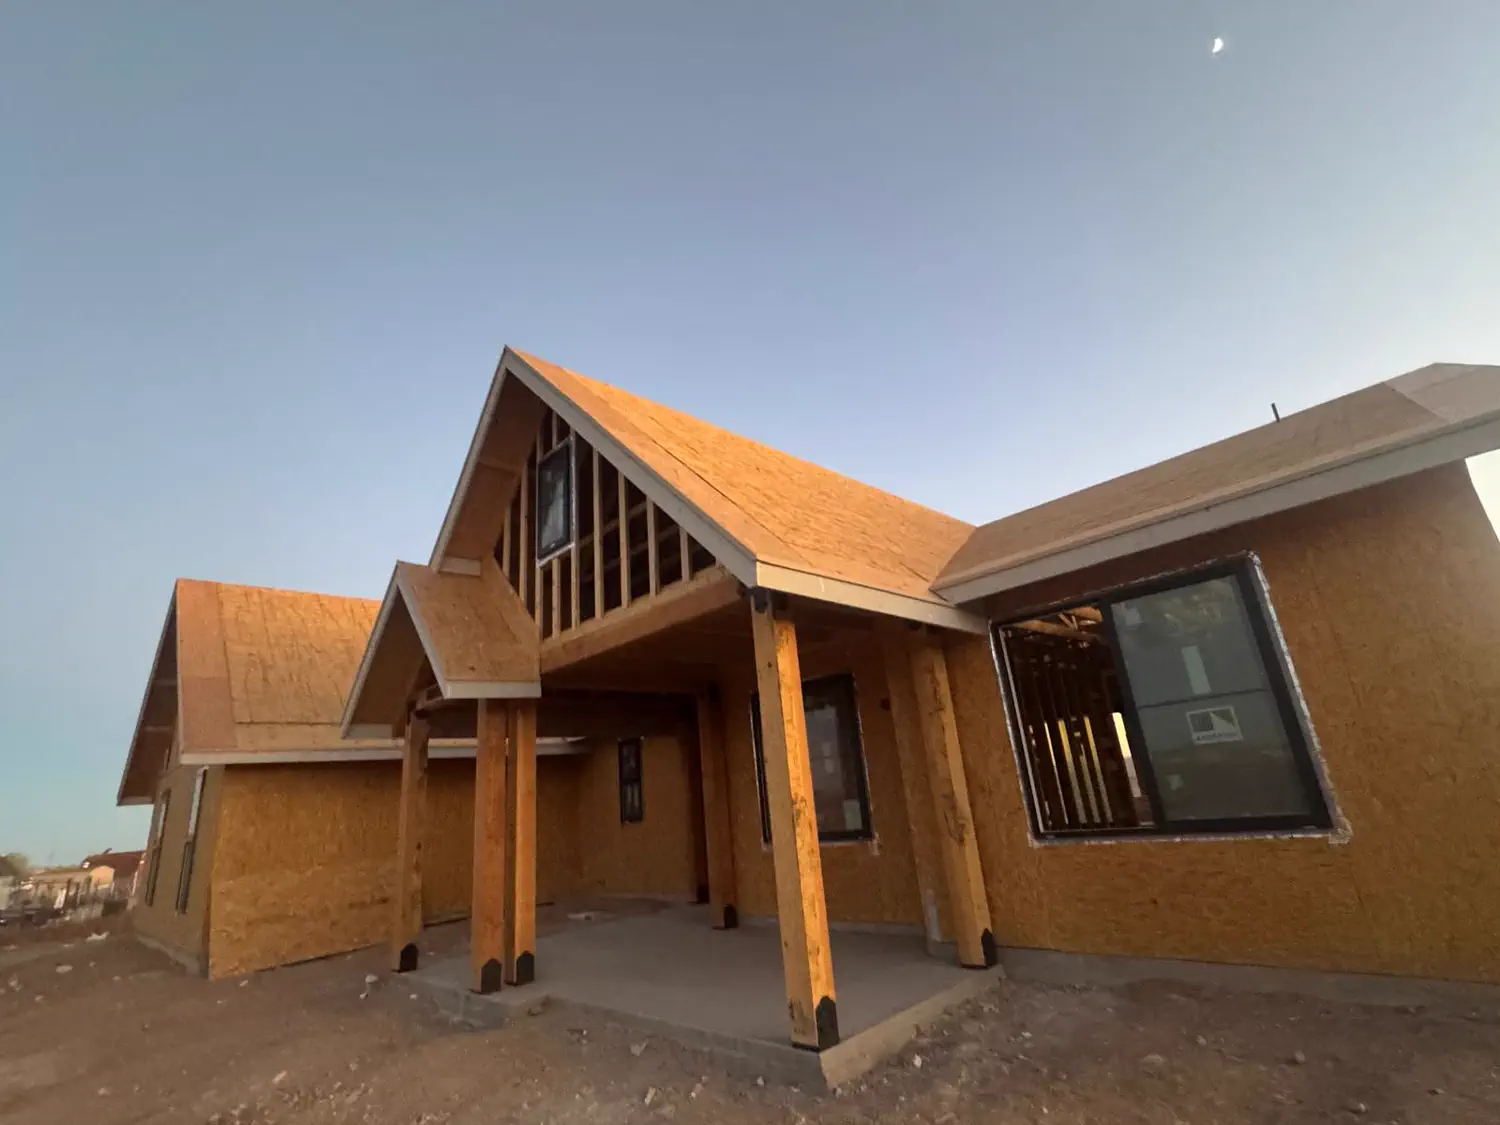
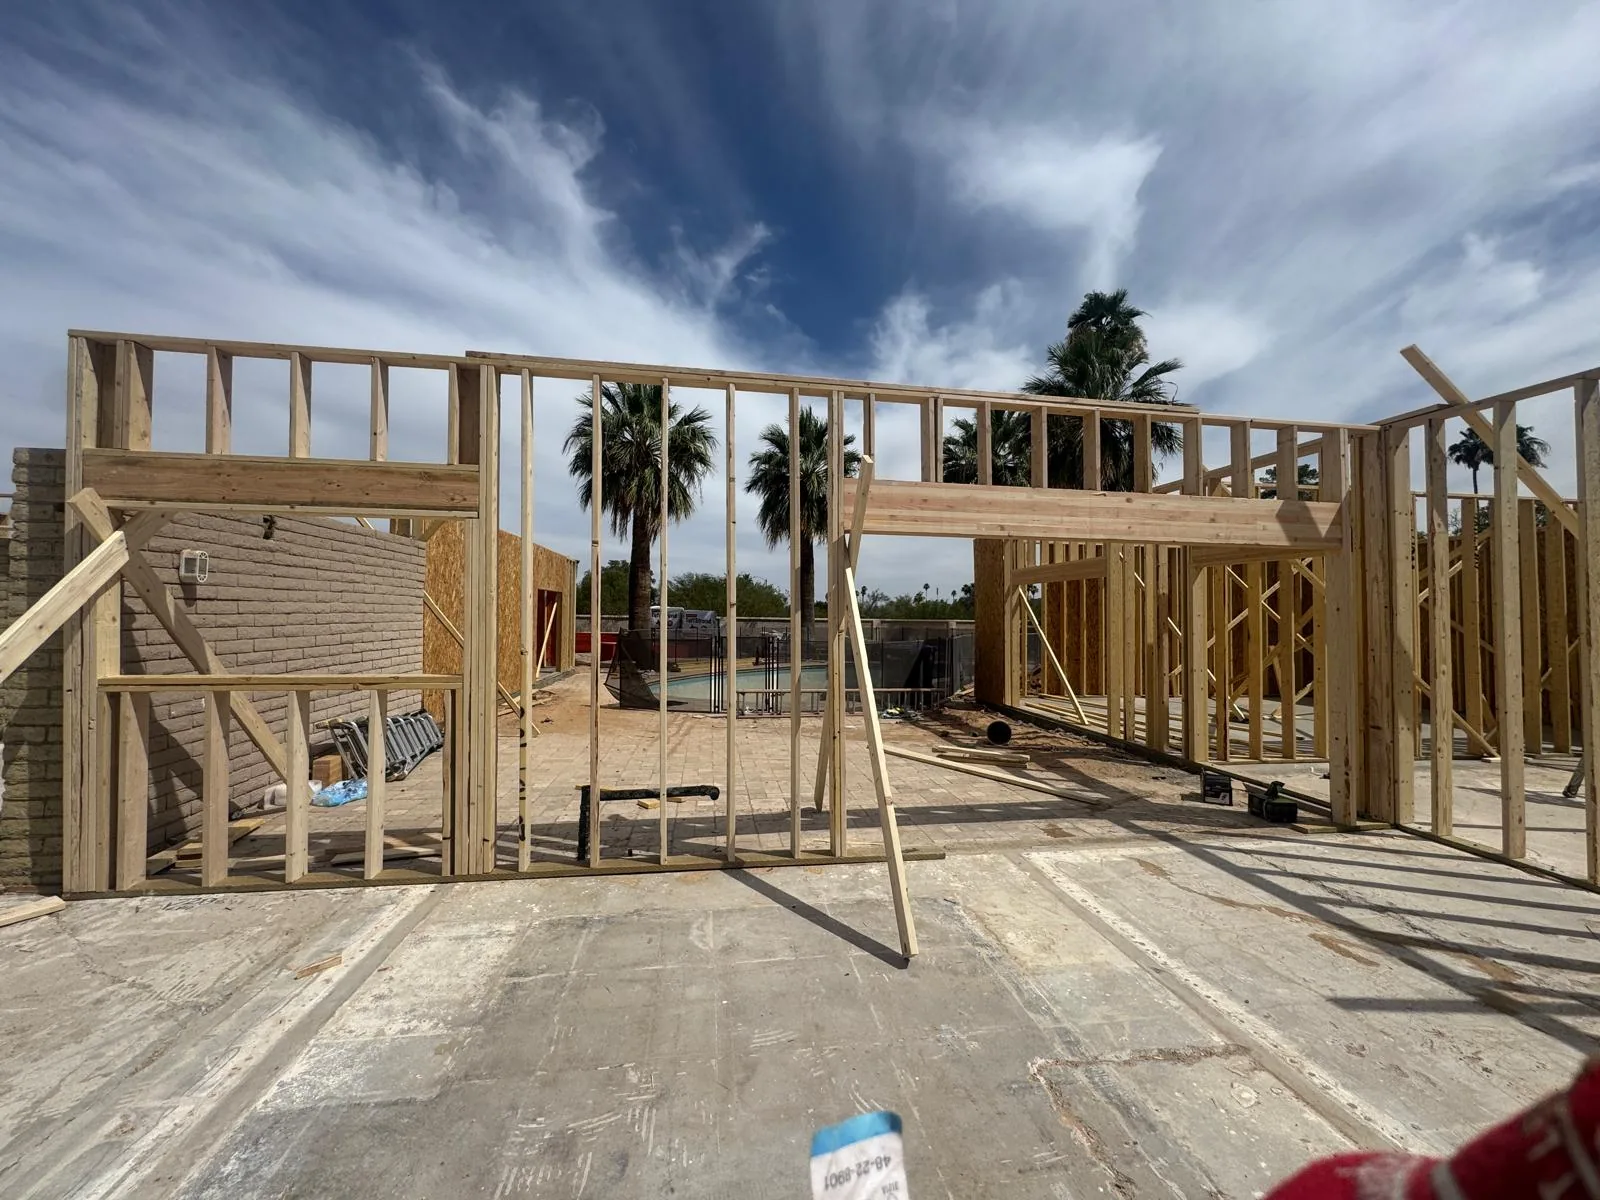
In Phoenix, the pre-drywall checkpoint comes after rough framing and the rough plumbing, mechanical and electrical work are in place, but before insulation and drywall. The City says required residential work must be inspected before it is covered. Its checklist says not to insulate, drywall or cover the work until the pre-drywall inspection is approved. See the City of Phoenix residential inspection sequence and its Residential Inspection Checklist.
This guidance is for Phoenix. Inspection stages and permit conditions vary by jurisdiction, so check the permit and the local building department before closing any wall.
What the Phoenix checkpoint covers
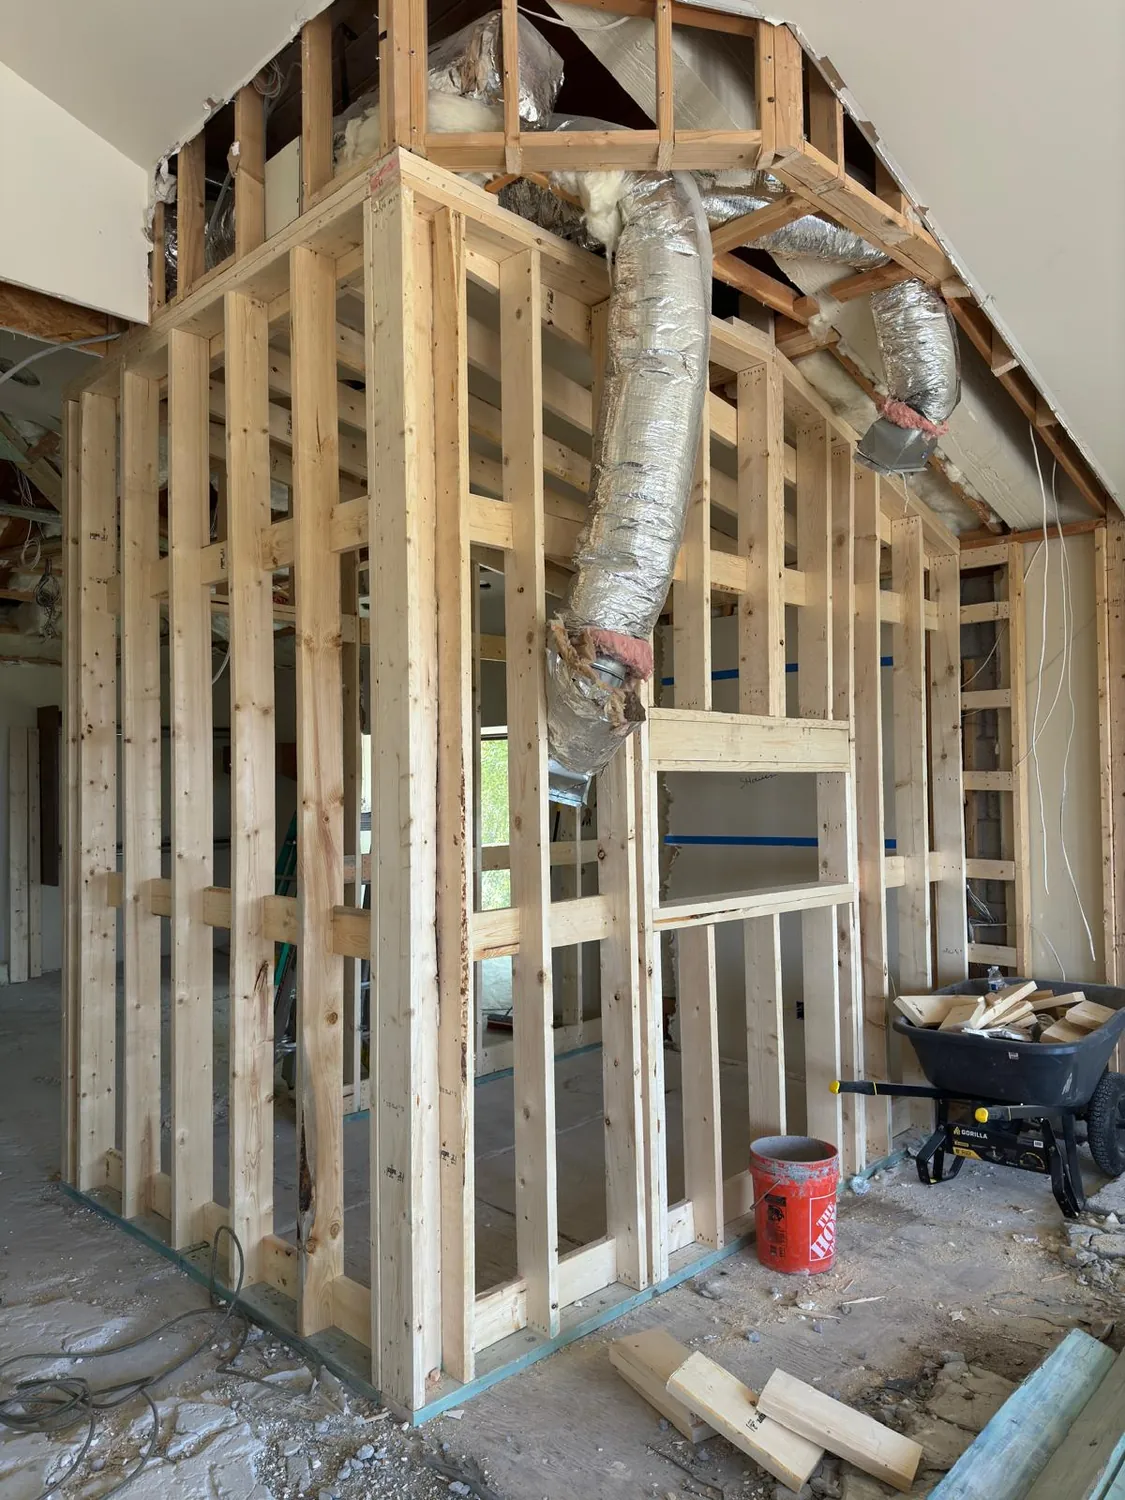
The city groups rough framing, plumbing, mechanical and electrical work at the pre-drywall stage. Its checklist calls out framing items such as member size and spacing, ties and clips, headers, lintels and shear walls, along with the rough systems. The exact inspections on your job depend on its approved plans and permit.
Before insulation or drywall starts, ask the contractor to confirm the required inspection has passed and any corrections have been handled. If the work is not ready, keep it accessible and resolve the issue before it disappears behind a finish.
Make a useful record while the walls are open
The city inspection checks construction against its requirements. Your own photo record serves a different purpose: it can help you remember where things sit after the wall is closed. Take the photos only when the contractor says the area is safe and ready for a walkthrough.
- Photograph each room from the doorway, then each wall and ceiling straight on. Label the room and wall in the file name or a note.
- Take closer views of visible pipes, electrical boxes, ducts, framing and backing. Include a tape measure or another clear scale where it helps locate a feature later.
- Ask the contractor to point out blocking or backing included for planned cabinets, wall-mounted equipment or accessories, and record the locations you may need to find again.
- Save the approved plan, inspection result and any written change or correction notes with the photos.
Photos are a reference, not an inspection or approval. Do not move wiring, plumbing, insulation or framing to improve a picture. Ask the crew to identify any feature you do not recognize.
Three questions to settle before drywall
- Has the required pre-drywall inspection passed for this permit?
- Are corrections and plan changes resolved before anything is covered?
- Can we label and save a room-by-room photo record of the open work?
Quest lists framing and drywall among its services. If you are still sorting out which office handles a permit, our guide explains who issues a building permit in Arizona.
Keep the wall open until the required inspection is approved. Then record the visible work and save the project notes before drywall makes those routes harder to find.